
You have probably come to taste Maria Luisa cake. It is a vibrant, soft, and fluffy cake, made in two layers or two floors of cake separated by arequipe or blackberry jam, although the flavor of its filling can vary depending on the Taste or craving of the person who prepares it.

How is the texture of the Maria Luisa cake?
Maria Luisa cake, very traditional in Antioquia, you can find it made in many bakeries, ready to be sold. This cake is for many, a delight, it combines the softness of the vanilla cake stuffed with arequipe or a thin layer of blackberry jam; Its acidity combines the flavors and balances the sensation of the palate. It is a perfect combination to accompany with a glass of cold milk or a scoop of ice cream.
Do you crave it? To me, because it is a perfect combination. Its preparation is straightforward, and if you like cooking, you can try to make it at home. And if you are looking to learn how to do it, you are in the right place; here we will show you each of the steps to follow so that this cake is at the point we need.
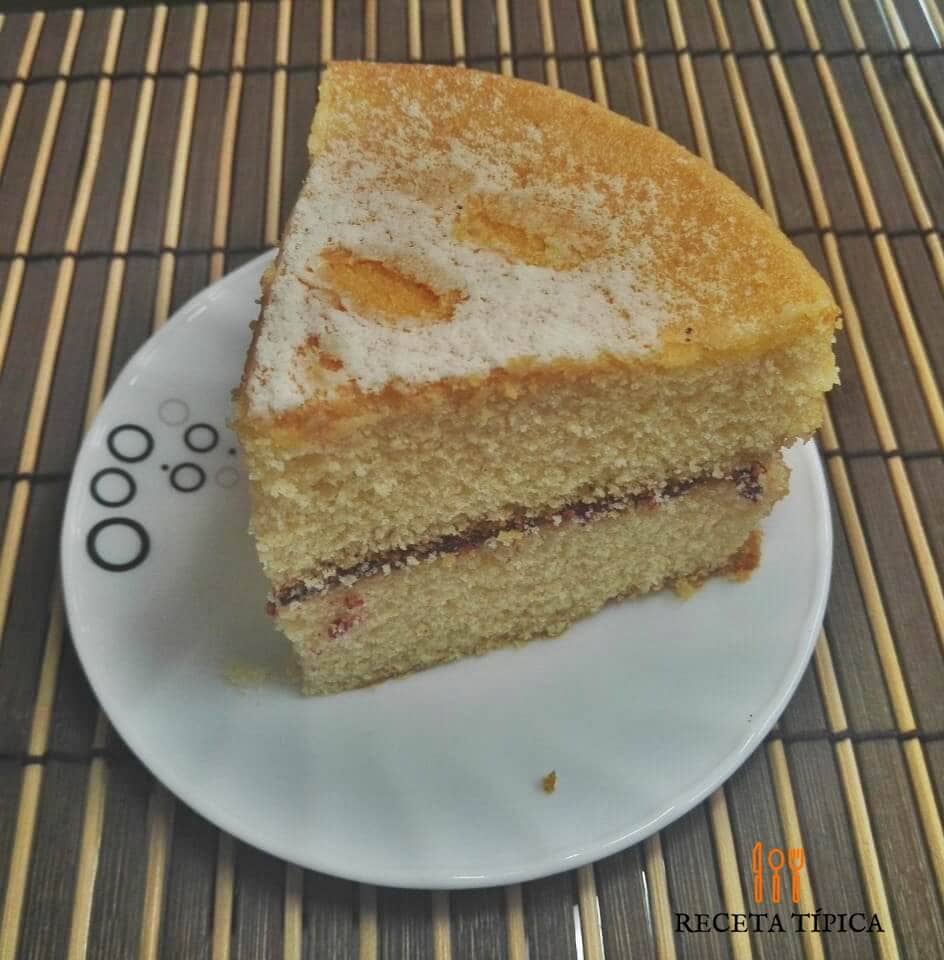
It is an ideal cake to use for birthdays or family gatherings, even on select dates such as father's day, love and friendship, or to surprise those who love them most.
So let your imagination fly, and let's make this delicious Maria Luisa cake together, also designed to take cravings and sweeten life. Let's cook.
Recipes recommended: Chocolate bonbons or Popcorn.
Original recipe in SpanishTorta María Luisa FAQ
More cakes
- Piononos — rolled instead of layered.
A simple Colombian layer cake: two rounds of orange-scented sponge with jam spread between them and powdered sugar dusted on top. There is no buttercream and no filling to cook, which is what makes it an everyday cake rather than a celebration one.
Red fruit jam is traditional: strawberry, raspberry or mixed berries. Guava jam or arequipe also work and are common in Colombia. Whatever you use, spread it thin: too much and the top layer slides when you cut it.
They do different things. The juice provides liquid and a little acidity, which reacts with the baking powder and keeps the crumb tender. The zest carries the aroma, which is where almost all the orange flavour actually lives. Leaving out the zest gives a noticeably flatter cake.
You can, then slice it horizontally once cooled, but two tins is easier and more reliable: a single deep sponge takes considerably longer to bake and is more likely to dome or sink. If you do use one, add fifteen to twenty minutes and test with a skewer.
Overbeating after the flour goes in. The method says to beat only enough to incorporate, and that is deliberate: working the batter develops gluten and gives a tight crumb. Mix until the streaks disappear and stop there.
Two or three days covered at room temperature. Dust the powdered sugar just before serving rather than in advance, since it dissolves into the surface as it sits and the cake loses its finished look.
📖 Recipe

Ingredients
- 280 g wheat flour (about 2¼ cups)
- 3 teaspoons baking powder
- ½ teaspoon salt
- 250 g white granulated sugar (about 1¼ cups)
- 3 eggs
- ½ cup orange juice (freshly squeezed)
- 2 teaspoons orange zest (this is where most of the orange flavour comes from)
- ½ cup milk
- ½ cup vegetable oil
- 1 cup red fruit jam, or to taste (strawberry or raspberry; spread it thin)
- Powdered sugar, for dusting
Instructions
- Preheat the oven to 350 °F (180 °C) and grease two round 8-inch (20 cm) tins.
- Sift the flour, baking powder and salt into a large bowl.
- Add the sugar and mix to combine.
- In another bowl, beat the eggs, orange juice, milk, oil and orange zest.
- Add half the orange mixture to the dry ingredients and beat only until incorporated. Scrape down the sides of the bowl with a spatula so nothing is left unmixed.
- Add the rest of the orange mixture and beat again just until combined. Stop as soon as the streaks disappear: beating further develops the gluten and makes the cake dense.
- Divide the batter between the two tins and bake for about 35 minutes, until a skewer in the centre comes out clean.
- Let the cakes cool in their tins on a rack for about 15 minutes.
- Turn them out of the tins and let them cool completely. Assembling them warm melts the jam and makes the layers slide.
- To assemble: place the first layer flat side up on a plate and spread the jam over it with a spatula, in a thin, even layer. Set the second layer on top and dust with powdered sugar.
- Cut with a slightly damp knife, which stops the sponge dragging, and serve.
Cathy
Is the wheat flour the same as white flour or whole wheat flour in Canada and the ?U.S.A??
I have a friend who moved to Canada from Columbia.
I would like recommendations of good desserts to make for her.
Thank you.
Mely Martinez
Hello Cathy,
It is white All-purpose white flour.